As a globally used accounting software, QuickBooks makes bookkeeping relatively easy for any business owner or accountant. While some businesses continue to use QuickBooks desktop for their accounting requirements, many have started transitioning to QuickBooks Online for easy access to their company file from anywhere.
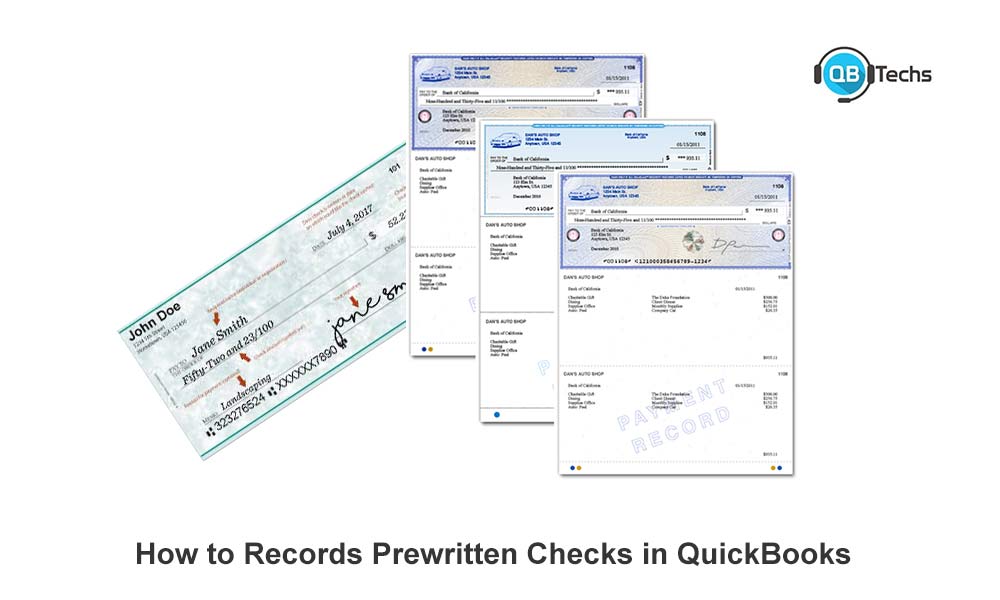
Every now and then, business owners who use QuickBooks desktop or QuickBooks online, find the need to record a check in QuickBooks which is already written. These could be handwritten checks issued to vendors or those that you may have forgotten to record. The steps to properly record this transaction on QuickBooks will vary depending on whether you are using QuickBooks Desktop or QuickBooks Online.
Once the check is recorded, you may eventually have to clear it manually or by reconciling the accounts to keep clear and accurate accounting records.
Record Prewritten Checks in QuickBooks Desktop
QuickBooks Desktop users must record the check using the following steps:
- Click on ‘+New’
- Go to the vendor’s section and choose ‘Check.’
- Type the date when the check was issued.
- Make sure that the ‘Print later’ box is unchecked. Record the check number.
- Pick the name of the person or company towards whom the check was made under the ‘Pay to Order’ section.
- Write the amount of the check.
- Choose the appropriate account from the account column.
- Enter any other necessary details on the page and click on ‘Save’ to record the check in QuickBooks. You do not have to print the check because it has already been issued.
Record Prewritten Checks in QuickBooks Online
QuickBooks Online users must record the check using these steps:
- Click on ‘Accounting’ from the left navigation menu.
- Look up the bank account related to the check and click on ‘View Register.’
- In the date column, click on ‘Add check.’
- Enter all details as required in the date, ref no. payee, account, memo and payment fields. For tax payments, you can reference your sales tax calculator.
- Click on ‘Save’ to successfully finish recording the check in QuickBooks Online.
When the check is cleared, you must go to the register and mark the check as cleared. To do this follow these steps:
- Click on ‘Accounting’ and choose ‘View Register’ from under your bank account.
- Click on the check. This will automatically open the check details.
In the status column, click on the blank field and it will automatically be marked by a ‘C.’ - Click on ‘Save’ to clear the transaction.
These steps are for manually clearing the check but if your account is connected with your bank feeds then you can simply match or add the transactions downloaded from the bank, and it will automatically clear the transactions, including the check.
This reduces the risk of discrepancies or mistakes made in clearing transactions manually, and it can also help you identify if the transaction was recorded to the wrong bank account.
If you are unable to carry out any of these steps or if you encounter problems in recording or clearing the check, then you can talk to a professional QuickBooks technician to help you record the check properly on QuickBooks.
You can get step by step support by a professional technician in recording the check in QuickBooks or solving any problems that you encounter while recording or clearing the checks. While the process of recording a check is relatively easy and may not require advanced knowledge of computers or QuickBooks, if you face a problem, the troubleshooting may not be simple and may require a deeper knowledge of the software and the operating system.
For any other kinds of issues such as corrupt company files, networking issues, installation issues or password reset you can download and install QuickBooks tool hub to rectify the problem easily.
Once checks are properly recorded, the process of manually or automatically clearing the checks is also important to maintain proper accounting records.


Leave A Comment
You must be logged in to post a comment.