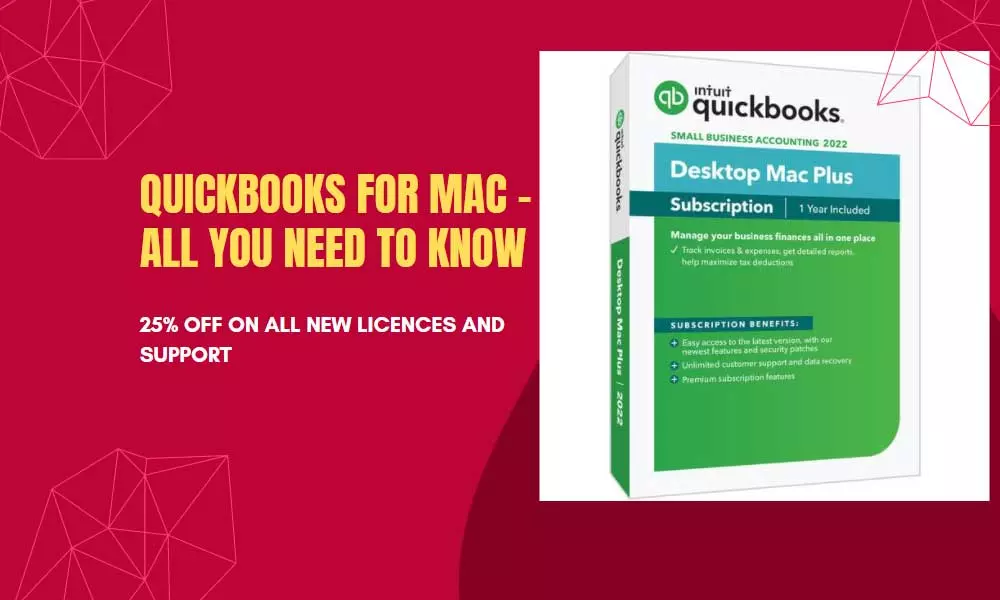
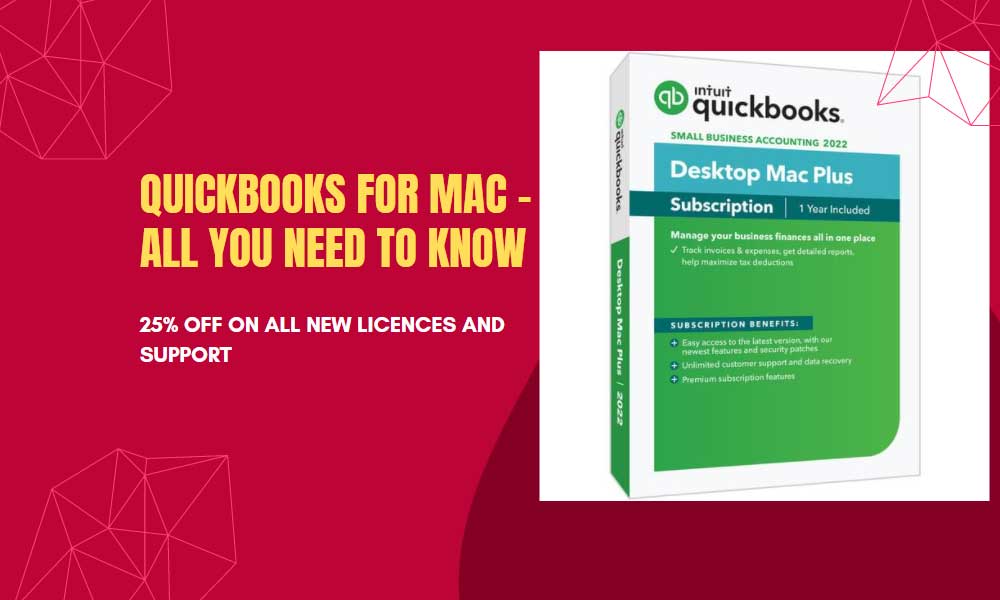
QuickBooks for Mac is an accounting program designed specifically for Mac users. QuickBooks is a leading name when it comes to accounting software, and it is the version of the software that is specially designed for Mac users. If you are a Mac user willing to use QuickBooks on your system, read the entire article to learn more.
How To Get QuickBooks For Mac?
Just like QuickBooks for PC, you need to purchase the software from the official website of Intuit and install it. Run it on your system, and it will ask you some questions about your business. the required information and questions are mentioned below-
Information
- Name of the business
- Business address
- Business email
- Business website
- Logo of your Company
- Structure of your business
- Accounting method you need to involved in your business
Questions
- In which industry is your business-related?
- What are the payment terms you want to assign to most of your clients?
- Do you need any estimate creation for your customers?
- Do you need to create any purchase orders?
- Do you need to check income and overall expenses for multiple departments?
- What are the payment terms between you and your suppliers?
- Do you track income and overall expenses for multiple locations?
These were the information and questions that you will be asked by the software, and you have to answer these to use the software as you need.
(Note – As it is developed especially for the Mac users, it won’t work on PC)
For Whom Can QuickBooks Mac Be A Perfect Choice?
- If you don’t need to have access to data when you are far from your office or wherever you are working with QuickBooks Mac, you can use it.
- People who don’t need to connect credit card or bank card accounts to QuickBooks, and obviously have Mac, can buy QuickBooks for Mac.
- You only can use QuickBooks for Mac if you have less than 3 users who need to access the software together.
- It is good for people who don’t need to work on the software outside their office as it only works on the desktop where it was installed.
- People who want to use the Mac-specific features of this software, such as iCloud file sharing, can use QuickBooks for Mac.
- It is a good choice for project-based businesses. There are features that can help you to manage and track your projects.
What Are The Pros And Cons Of The QuickBooks Mac?
Like anything else, QuickBooks Mac also comes with some advantages and disadvantages. Let’s discuss this in brief.
Advantages Of QuickBooks Mac
- QuickBooks Mac comes with unlimited updates that allow users to access different features that can be very beneficial for them.
- You can always get customer support whenever you are stuck or confused about anything on Quickbooks Mac
- This software supports both cash and accrual accounting so that you can keep track of your accounts and transactions no matter in which form they are done.
- This software comes with some really impressive inventory tracking features that allow you to track your transactions and other things effortlessly.
- It allows cloud hosting so that you can recover business data whenever you need to.
- It has an easy to use interface
Disadvantages Of QuickBooks Mac
- It allows a maximum of three users to work on that software simultaneously.
- It does not come with any multi-currency support.
- There are not so many self-help articles to go through.
Features Of QuickBooks Mac
QuickBooks for Mac comes with several beneficial features that can help you to run your business smoothly and control your accounts. Besides inventory, payroll, online payments, paying and receiving required accounts, and running detailed reports, the software has much more to offer. Let’s check out the features of QuickBooks for Mac.
Customizing Accounting Charts
You can create a chart of accounts for your business and add or edit expenses and income on that chart using QuickBooks for Mac.
Custom Products and Services Lists
It allows you to customize your products and services. It is a very beneficial feature when you need to shift the paradigm of your business. It also lets you keep track of the overall selling of your products or services.
Invoice Batch
This feature can really save your time as it allows you to send 1 completed invoice to multiple customers. You don’t have to create multiple invoices but send the one to multiple consumers.
Tracking Multiple Locations And Departments
With the class tracking feature of QuickBooks Mac, you can now easily check the accounts, including income and expenses for multiple departments and locations, at the same time. It will reduce your hazards and save you time.
Managing Budgets And Forecasting
This software helps you to manage all your annual budgets, including all incomes and expenses. This feature will allow you to understand the progress by comparing recent and the previous budget so that you can understand the accounting growth of your business.
Multi-user Access
Though the QuickBooks Mac only allows 3 users to work on the software at the same time, it can reduce the risk of miscommunication. You can share the access with your accountant and other important members of your industry.
iCloud Sharing
This feature is totally exclusive on QuickBooks Mac. By using this feature, you can move your QuickBooks from one Mac to another. It is a very useful feature when you need to switch your Mac.
Importing Transactions Using Square
Manually entering data into QuickBooks can really be hazardous and time-consuming work. The square feature on Quickbooks Mac allows you to transfer the sales transaction data directly into your QuickBooks for Mac without any hazards.
Past Due Stamp on Invoices
This feature allows you to check which invoice is better. Whenever the customers get the invoice after the due date, they would be able to see the past due to stamp and also will be prompted to make the payment.
Reconciliation Discrepancies
This QuickBooks on Mac feature allows you to restore the data between the credit card accounts and Bank each month. It will also assist you in resolving other financial issues.
Email Tracking For Vendors And Customers
This feature of QuickBooks for Mac allows you to send emails to all your customers and vendors, and by using this feature, you can also track those emails. If you need to attach purchase orders or any other document with your email, you can do it by using this.
Trick And Tips For QuickBooks Mac
If you are looking for some tricks and tips for QuickBooks on Mac, here are some of those that can be really helpful to you. Let’s start.
1. How To Add Or Change The Opening Balance On QuickBooks On Mac?
If you have mistakenly entered the wrong amount on your opening balance, you can go through the following steps to correct it.
- If the transactions have already been recorded, first, you have to open the chart of accounts and double click on that account that you need to change.
- The register will now open.
- Navigate to the opening balance equity entry and replace it with correct numbers.
If you have never added one to your account, you can go through the following steps.
- First, you have to add a transaction to the register with opening balance equity.
- Now, add the date you want to record your opening balance.
- If you have a bank account, make sure to enter the amount in the deposit column.
- If it is an asset, liability, or equity account, make sure to enter the amount in the increase column.
- If it is your credit card amount, enter the amount under the charge column.
2. How To Enter In The Bills Of Items That You Have Received On QuickBooks For Mac?
If you want to enter the bills of the items that you have received from vendors, you can go through the steps mentioned below.
- First, you have to select the vendor.
- Once you select the vendor, QuickBooks will show you that an open purchase order exists for that vendor. The software will now ask you if you would like to receive against an order. Click on yes.
- Now, QuickBooks will show you all open purchase orders from that vendor.
- You can now select the purchase order for which you have received the order.
- A window will appear on your screen, and you will be able to locate the bill’s items tab. This tab displays all of the vendor’s items for this purchase order. If you want, you can make changes here.
- Here, you will see the PO that is connected with that bill. You can also select a different purchase order or precise quantities.
(Note – if you have only received a couple of items from that vendor, you can use the clear quantities option)
- Click on save.
- Now, you are ready to pay the bill.
- Once you pay it and go back to view the purchase order, you will see it is now stamped with “received in full.” It indicates that the bill has been entered and you have already received all items from that vendor.
3. How To Use Your iPhone Scanner On QuickBooks For Mac
QuickBooks for Mac allows users to attach photos and scan documents by using their iPhone or iPad. It is a very efficient feature that can reduce your hazards as you can easily use your iPhone to scan documents for your QuickBooks on Mac. Follow the steps mentioned below for doing that.
- Go to any window that allows attachments. You will be able to see that attachment sign on that window.
- Click on that attachment icon. A list of several options will be shown on your screen, and you have to click on the plus sign.
- In the menu section, you should see your iPhone or iPad option.
- Click take a photo, and it will open the camera menu on your iPhone or iPad.
- Once you are done with clicking your photo, click on the use photo option.
- The photo will now automatically get attached to the attachment window.
If you want to scan any document with your device,
- Click on the scan document option.
- Take a photo of the document that you are willing to scan.
- Click on the keeps scan option.
- Now, your scan will appear on the attachment window as a pdf file.
The photos or documents that you use once will be saved in your Company’s attachments library for future references.
Point To Be Noted
The following circumstances should match to use this feature on your QuickBooks on Mac.
- Your iPhone or iPad should be on the same Wi-Fi as your Mac.
- You have to turn on the Bluetooth on your Mac as well as on your device.
- You have to be signed in to your iCloud with the same Apple ID and two-factor authentication, which is enabled on both your device and Mac.
You should be using at least Mac OS Mojave and IOS 12 on your device.
4. How To Customize The Toolbar Of Your Company File?
In QuickBooks for Mac, you can now customize the toolbar of your company file to make things more fun. You can even add links to the tool.
- You can drag icons in or out to change the icons in your toolbar.
- To change the colour of your toolbar, you can select the gear menu in the top right corner of your sheet. Hover the mouse over the colour menu to see different colours and choose from them. If you select the colours option, you will be able to open the coloured wheel and customize your colour. If you ever want to return to your previous or original colour, simply return to the gear menu and select factory reset defaults.
- You can choose whether you like your toolbar to be displayed horizontally or vertically. For doing this, you have to go to the preferences option on your QuickBooks and, from there, navigate to toolbar/ tabs. And select your preference. Here, you will be able to see another option which is to display the toolbar. If you ever want to hide your toolbar, you can uncheck this. You also can select keep the toolbar expanded if you want to keep it extended.
- To add a link to your toolbar, you have to open the window where you want to link that. Click on the customize button and drag the window you want to add from the bottom of the customize window. You can now type a description and also can pick an icon for that particular link.
Conclusion
QuickBooks for Mac is an amazing software if you love to work with Mac. It comes with many added features that QuickBooks for Windows version does not have, and vice versa.
After reading this article, hope you learned everything there is to know about QuickBooks for Mac. If you get stuck doing anything on QuickBooks for Mac, you can always contact customer care support for assistance.
How To Set Payroll Preferences On QuickBooks For Mac?

• Open QuickBooks and select preferences
• Go to payroll.
• In this window, go to the employees and from there go to the payroll menu item from the drop-down.
• Select launch QuickBooks payroll for Mac option
• Select the Launch or Get Started option.
• Now, you can close the preferences window.
How To Change All Users' Passwords On QuickBooks For Mac?

As an Admin, you can reset the passwords of all users who have access to your company file.
• Go to the preferences window
• First, select Company.
• Navigate to Users and Password
• Now you have to select the checkbox to reset all passwords.
• Now, enter a new password for each user.
• Close the preferences window.
How To Add, Edit, Or Delete A User On QuickBooks For Mac?

• First, you have to go to the Company and then go to users and passwords.
• To add a user select the Plus sign and enter the username and password. Now you can set user permissions.
• To edit a user, double click on the username, and you can now edit it.
• To delete a user, select the username and select the minus sign corresponding to the username.


Leave A Comment
You must be logged in to post a comment.